
In my bedroom, I gave my exposed plaster walls a treatment to create a bang-on-trend interior look that you will love. Today, I’m sharing before and afters of my distressed walls with my how-to guide so you can get the look in your home. It’s cheap to do, looks brilliant and creates a real statement look in a home.
What are distressed walls?
With my interior styling work, I get to visit some amazing location houses. From London mansion houses to warehouse lofts in New York to rustic cottages in Norfolk. One things I noticed that they had in common was a beautiful crumbling distressed plaster wall (or two). I wrote a post on this interior trend with lots of ideas for your home which you can read HERE.
This is my bedroom when all the wallpaper was stripped off.


Before
My bedroom had damp in one corner from a leaking window and an issue with the roof. My builder had to hack off the plaster from the bedroom walls so they could be damp proofed. When he did this, he revealed the bones of my house, uncovering the original plaster (and some vintage wallpaper) dating back to the late 1800s.
An idea struck me – to leave one of these mottled, crumbling walls exposed – just as I had seen in lavish location houses. My builder thought I was beyond crazy – and tbh my friends and family were not convinced either.
I choose the wall that runs along the far side of my room where my antique wardrobe stands. Not the first wall directly in your line of vision but one to the side, partially covered by furniture.


Distressed Plaster Walls
The old plaster was crumbling in places. You could see the wattle and daub that was applied by hand by the Victorian builders. The colours were a mix of shades of grey, with pink, dark brown and bluish flecks.
I had the rest of my walls professionally plastered, giving a nice crisp edge up to my distressed wall.
Depending on the look your want to go for, you may want to plaster in some of the larger chunks of wall to stop it crumbling before you start with the fixing process.


What you’ll need:
- Several soft brushes. I used the Harris 2″ 50mm flat brush for the bulk of the work. Then 25mm round brush for the delicate parts. And finally the 1″ 25mm flat brush for cutting in the edges.
- Protective polyester dust sheet for your floor
- One sanding block – ideally fine one to smooth out the plaster
- PVA glue and water to dilute
- One bucket or container
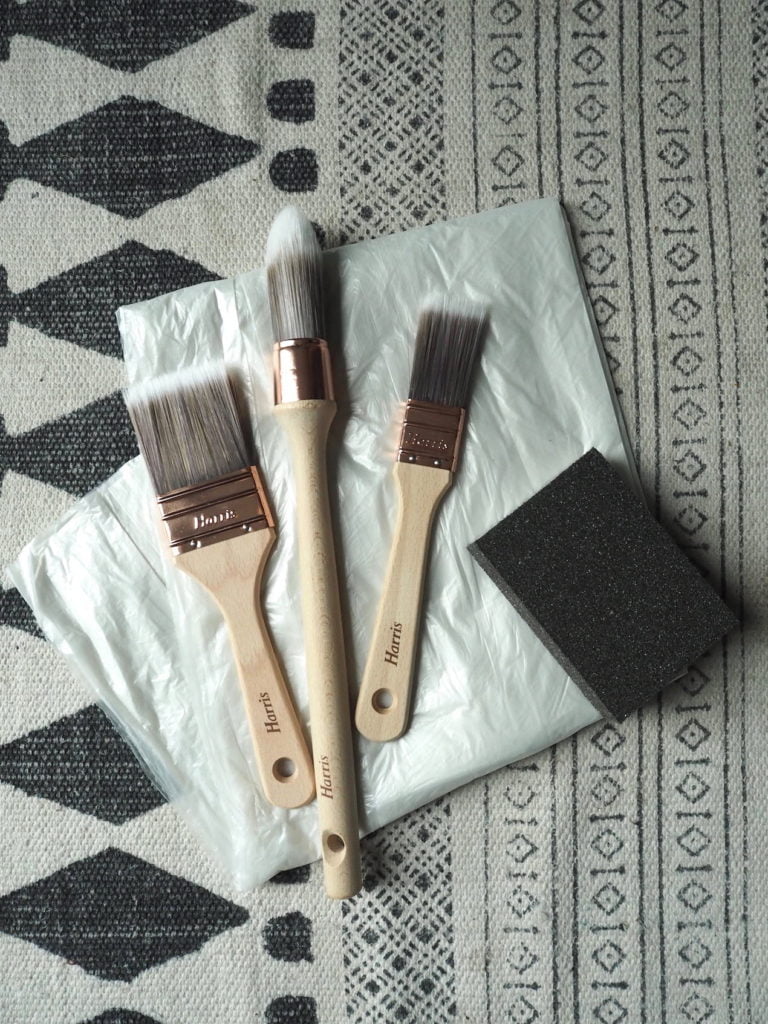
Up-cycle Paint kit / Harris
How-To DIY Distressed Walls At Home
First, gently sander the wall smooth to get rid of any irregularities. The using a good quality soft bristled paint brush to gently brush away any loose plaster – anything else might be too harsh. I bought this Harris up-cycle kit which was perfect for this job and I used it to paint my wardrobe after too (more on that projects at a later date).
To fix the plaster in place. Mixed together one parts PVA glue with two parts of water. I found this large PVA glue HERE for £6 but most DIY stores have it. The PVA glue mixture sets the plaster into place. I lightly brushed it on with a soft wide brush that you would use for wallpaper paste. I found this type of burst most effective as it was gentle with the parts of the plaster that were crumbling away.
Apply thin coats onto your wall and allow to dry throughly. Don’t do what I do and apply too many coats. This gave my wall a shiny finish which, I’ll admit, I wasn’t a fan of.
Also, when painting the glue on, feather your brush strokes (rather than up and down) to blend in the glue. Be careful with the solution dripping onto your carpet and skirting.
Time: Approximately 5 hours with drying times
And that’s it. So simple.


What does look good, is if you have vintage wallpaper on your wall – leave it on – for a wonderful patina for your walls. It would be a decorative feature that would also reveal this history of your home. Oh cool is that?
I hope you have enjoyed this post. If so, why not pin it to Pinterest to save for later.
If you have, share your love in the comments below.
Love
Maxine
You May Also Like
Your bedroom design dilemmas and how to solve them
11 Secret Interior Stylist tricks for your bedroom
6 Budget Ideas To Update A Tired Bedroom

Thank you Maxine, for this beautifully presented article.I have spent the last two weeks painting a distressed plaster look to my home and studio and have finally taught myself how to do it good.But now realise I could have gone for the real thing and exposed the original plaster.I will certainly choose a wall and see what is under there.THANK YOU, Best Wishes,Malec
Oh – your studio sounds lovely. Hope you enjoy your space.
Thank you for sharing this information. It was useful and interesting. Love the way you write, so that anyone can understand how to diy distressed walls at home. You have done a great job.
This is such a nice blog post on how to diy distressed walls at home.