You know when you stumble across an idea on Pinterest and it stops you in your tracks? Well that is what happened to me when I saw this painted vintage bed by Knock Studios. Amazing. Cool. Stylish. You name it, I love it. I wanted to try it out on my own vintage bed which looks a little bit like this one. Only thing that was stopping me? Guilt! I treasure antiques so the idea of painting one freaked me out. What if I copied this look and it was awful. I would be so upset that ruined my bed. Then one rainy afternoon, I grabbed a paint brush and did the deed. How did I do? Well, I’ll let you be the judge of that.
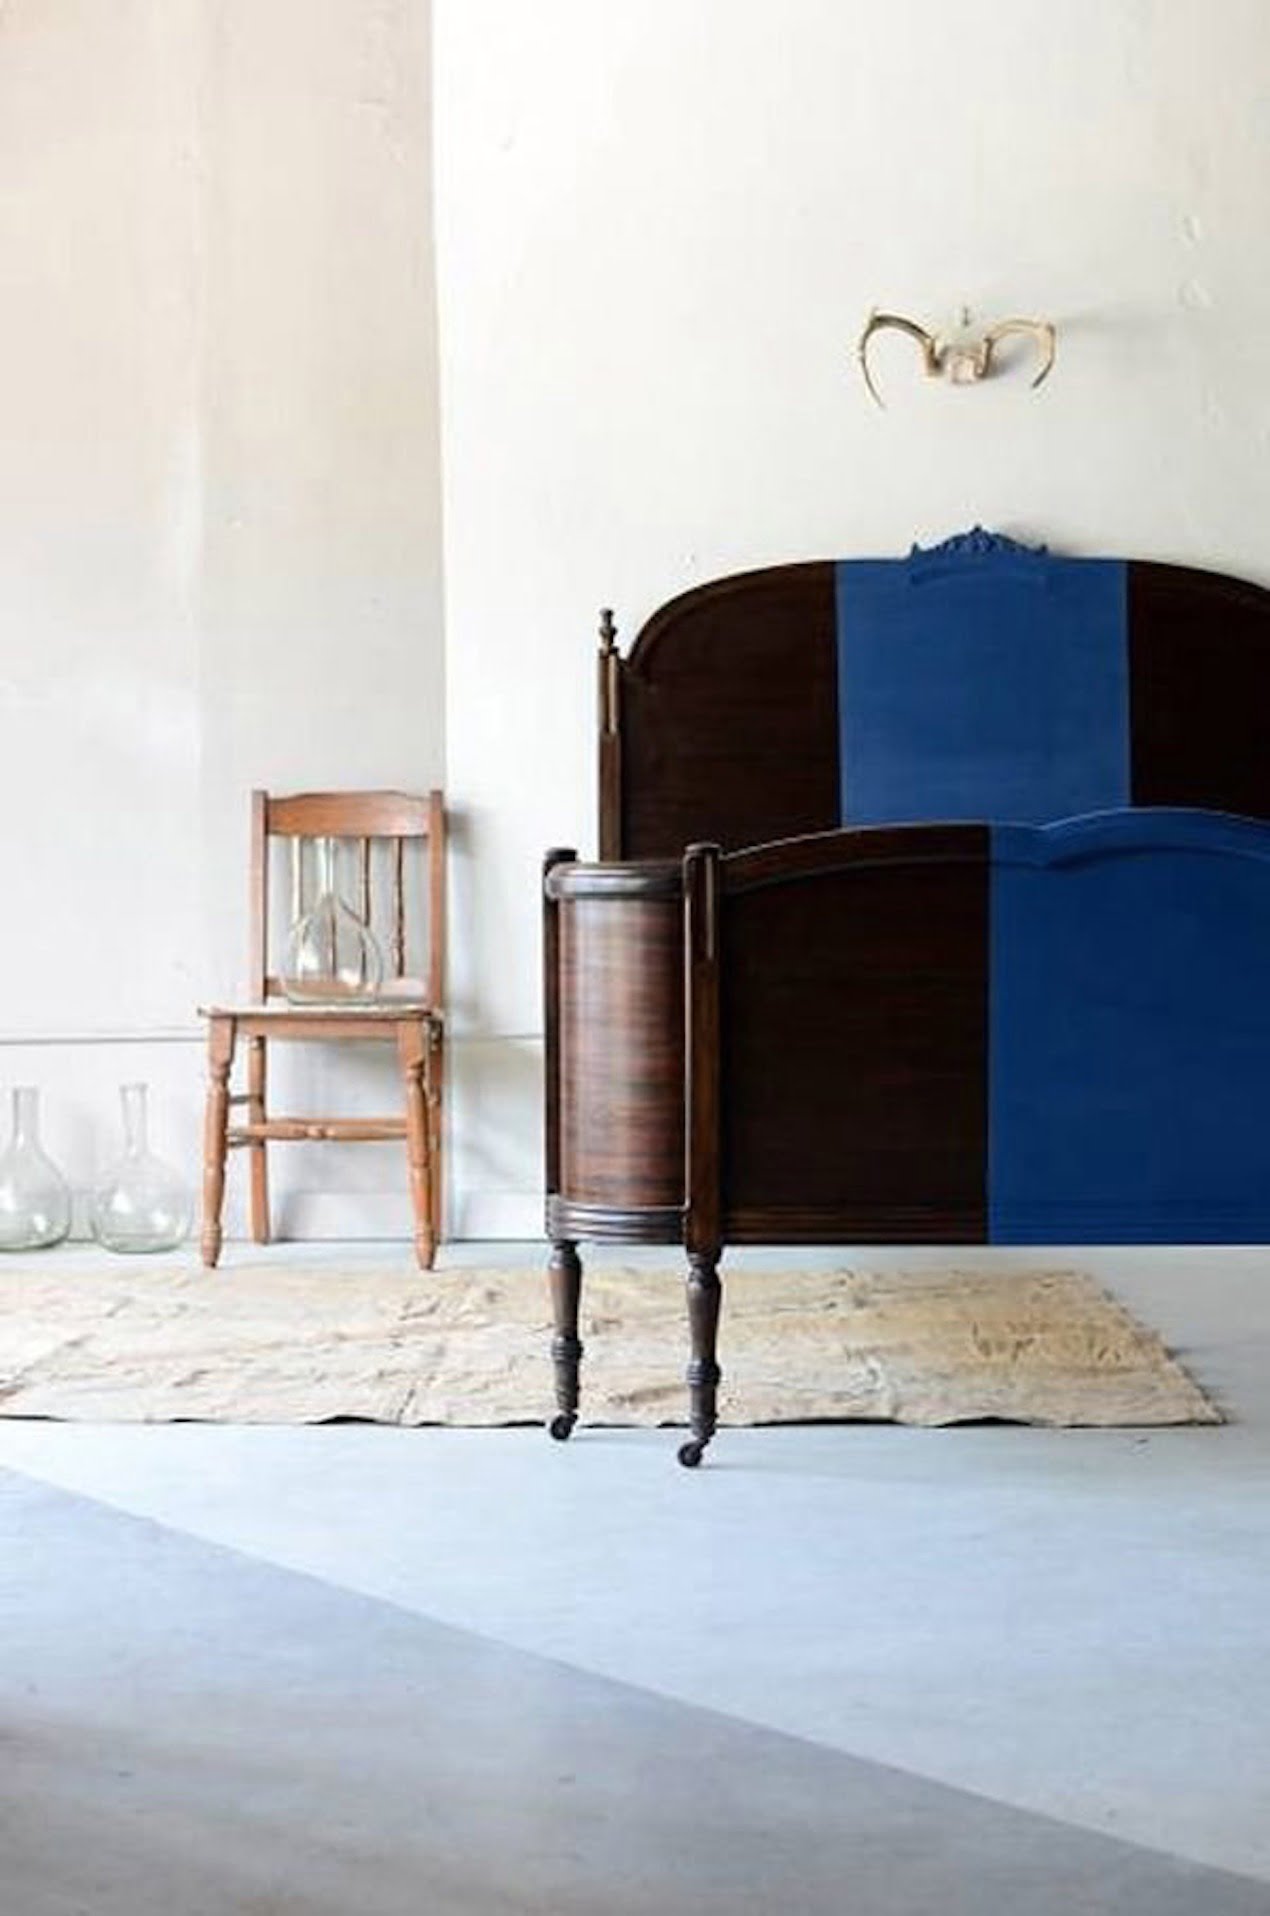
I discovered this rather chic painted idea bed idea featured on Apartment Therapy on a feature they posted on How to Modernize Your Favorite Vintage & Antique Finds. The post popped up when I was looking for inspiration for my guest bedroom which I shared in my post Ideas For My Spare Room. I was given a Edwardian or Victorian bed by a friend for my spare room. I was struggling to make this lovely bed work in my new look guest room until I found this clever paint idea.
 I Love My Vintage Bed
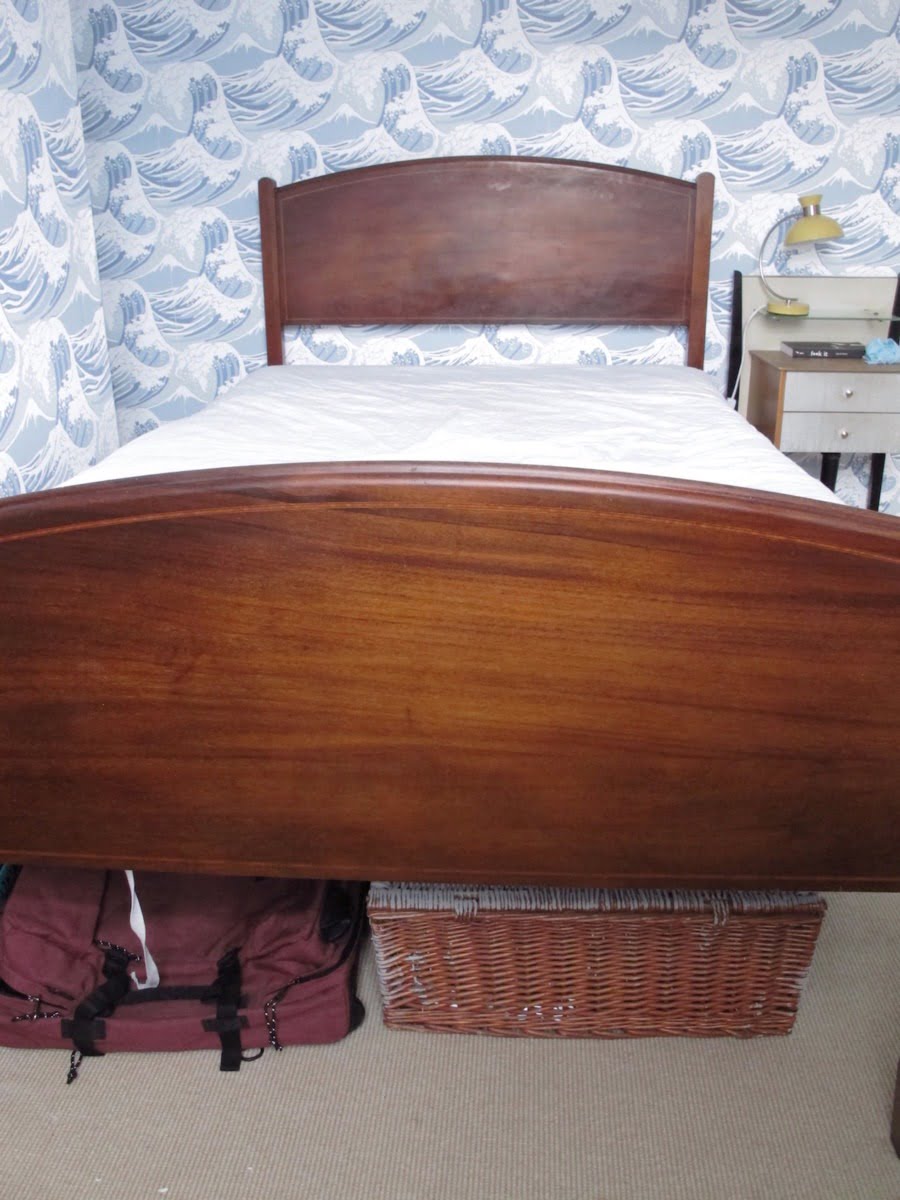
Before vintage-fan outs there cry out in horror about what I’m about to show you, I would like to stress I don’t go around painting beautiful dark wood beds. This bed wasn’t in the best condition. There were a few scratches on one end. One of the wheels was missing. I also contacted the previous owner who gave me the bed for free, and she gave me her full approval to vamp it up. Also, it wasn’t made of a lovely cherry wood – it was a bit too shiny so I think it was a cheaper wood that had been varnished. Have I made my case for painting it?
Just because it wasn’t perfect, doesn’t mean that I don’t love this bed. I wanted to make it work in my new-look guest room. I love that it has legs so that I can shove stuff under it…as you can see from above. Something had to be done – and that was a makeover.
Blending My Vintage Bed Into My Room
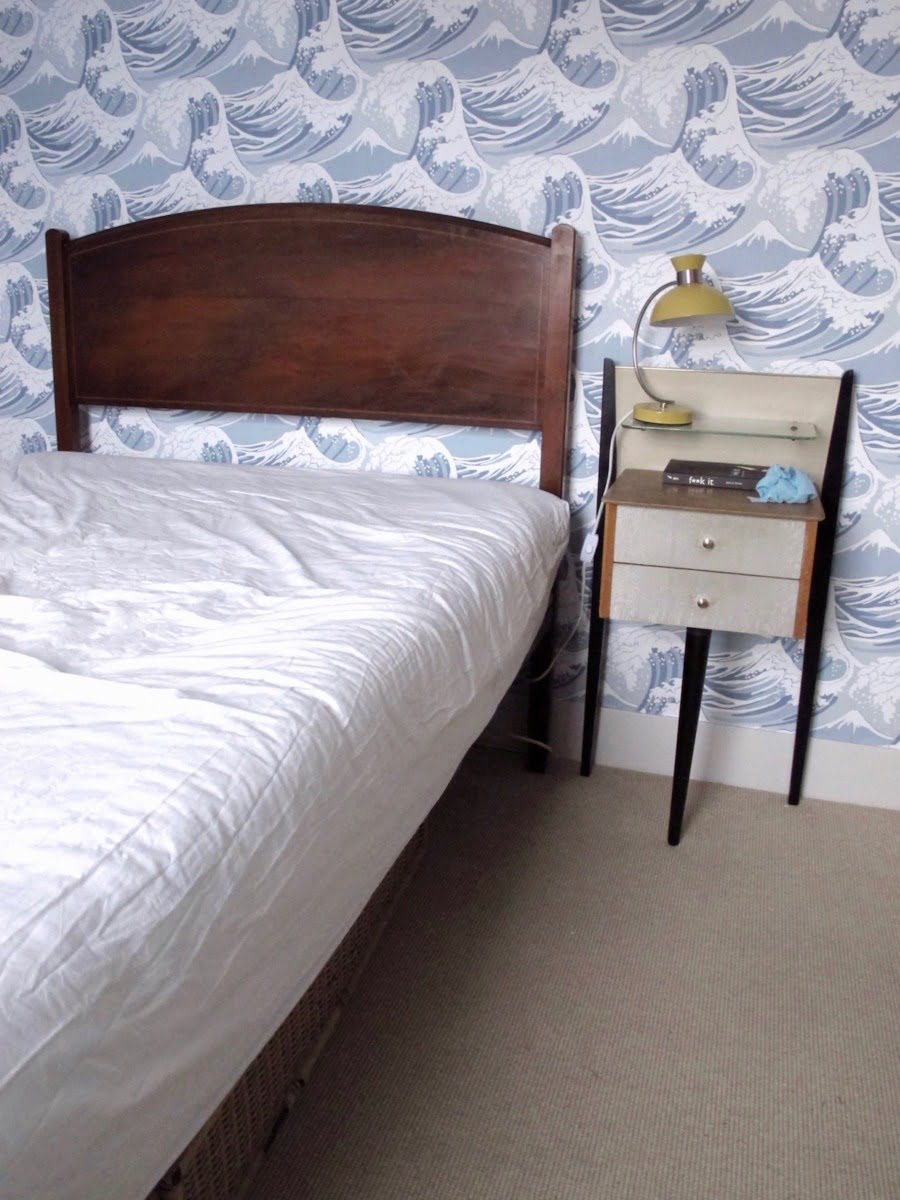
I wanted the bed to work better with my recently wallpapered walls in Great Wave Cole & Son wallpaper. Don’t look too close as I’ve not finished the room! This is to just show you a little example of what I have been doing behind the scenes.
DIY Step-By-Step
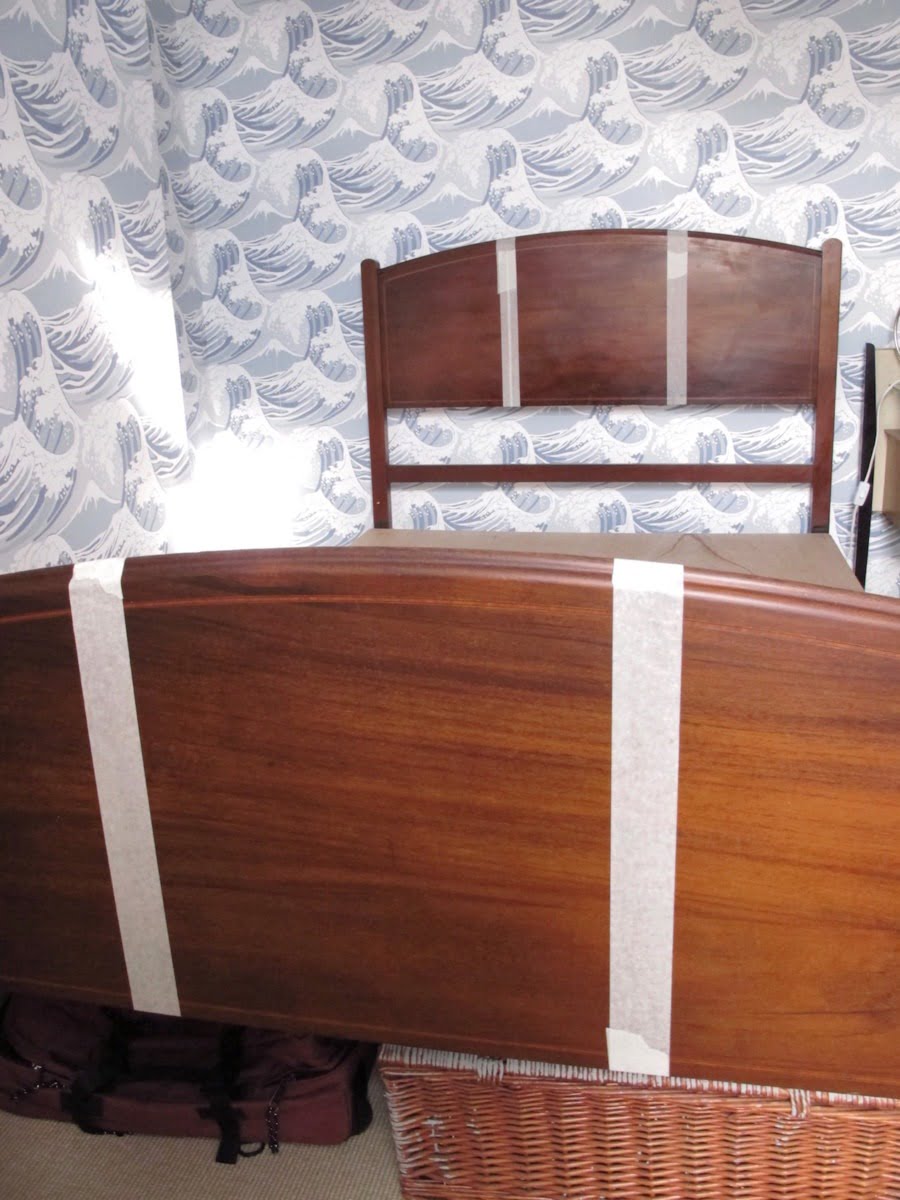
To start with mask out the band of colour on the bed. Looking at my inspirational picture, the band of paint was about 1/3 of the total width of the bed. This was the bit that took ages as measurements are not my strong point.
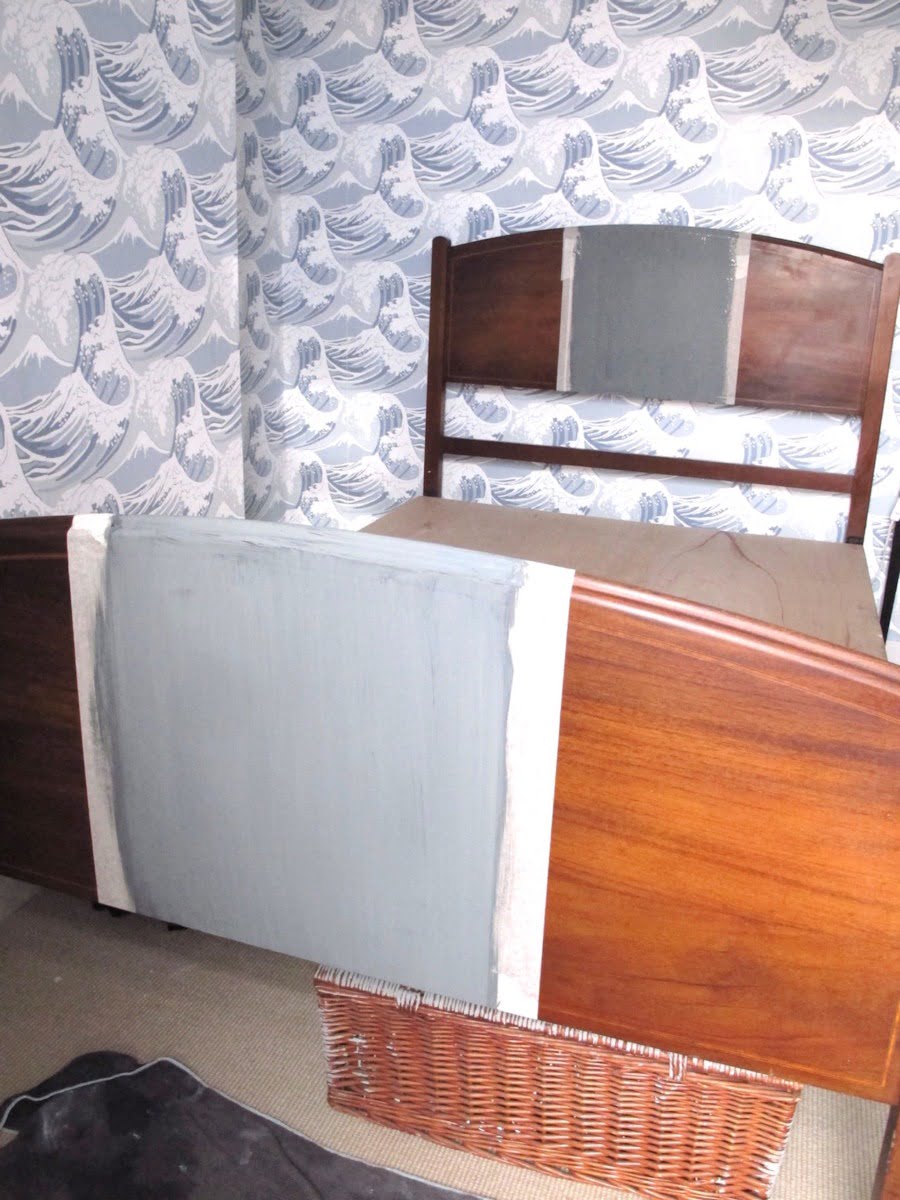
If you are a messy painter like me, then wide masking tape is the best. Stops paint going over the line and keeps it all need. It’s also easier to stick on in a straight line for some reason. I get mine from the £1 shops (I love shopping in the £1 for random DIY stuff).
Use A Decent Primer
Next is putting on the Primer. I used Farrow & Ball Dark Tones Primer which I had left over from a shoot. It’s not the cheapest but it goes on so nicely. It dried in about an hour too which is pretty speedy for someone like me who hates waiting for anything. It is important to use the correct type and colour Primer to match your top coat colour. As I was going for a darker tone, I needed the darker grey Primer.
I needed a primer as the bed had a glossy shine to it. It’s the only way that paint was going to stick to the bed. On the back of the tin made me laugh! It tells you when you have finished your DIY painting ‘to step back and admire your handy work’. I did that with a cup of tea after just one coat.
I spent ages picking the perfect shade to go with the wallpaper. I went for Farrow & Ball Stiffkey Blue in egg shell. I want to paint the whole of my home in this shade of blue. To be honest I’ve already started with my hallway ceiling and the odd pieces of furniture. It’s a far darker shade than in my inspiration picture.
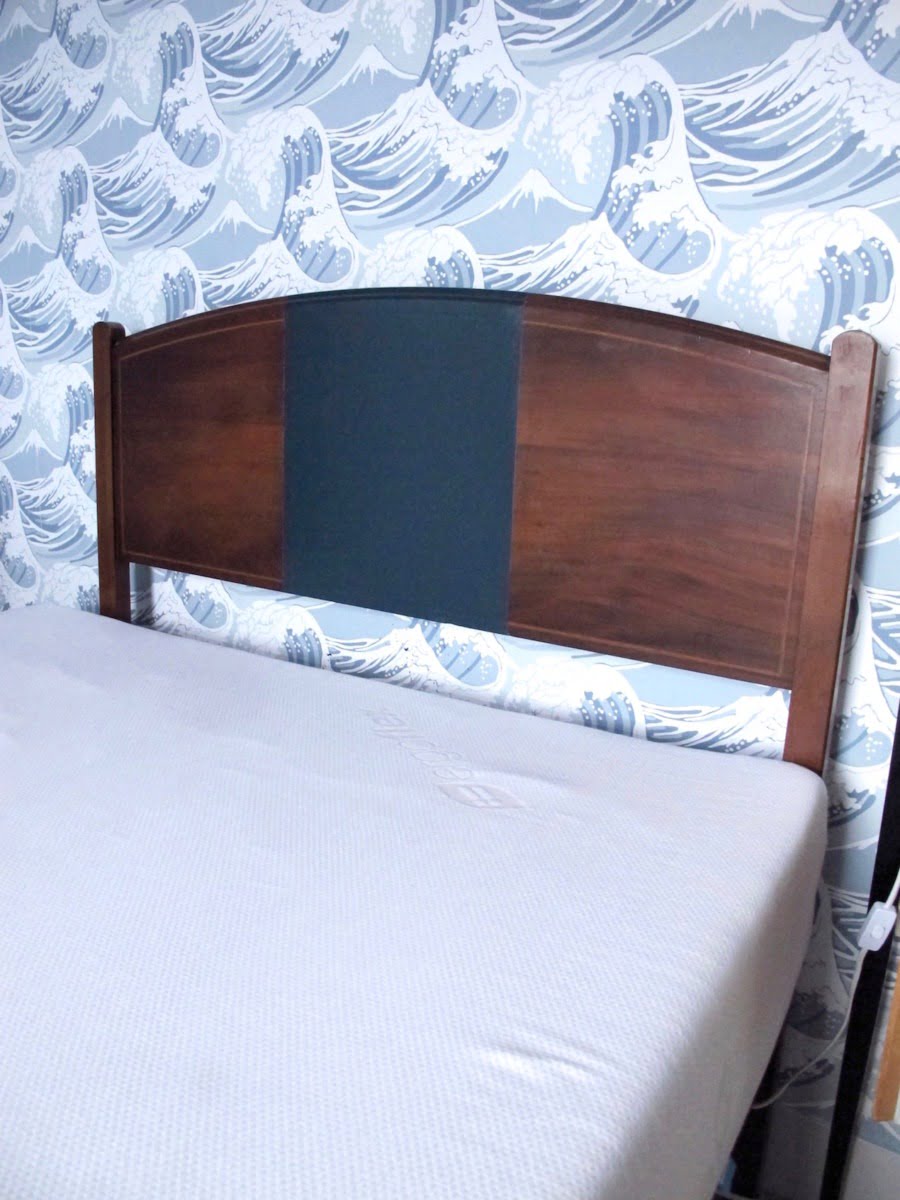
It took two coats which isn’t that much but they took forever to dry. In the end I had to leave the bed over night, so hold that in mind if you want your room back at the end of the day. It was still tacky in the morning.
Oh – one trick I was taught by a set designer…..remove the masking tape while the paint is still wet. This gives you a neater edge. In the past I always pealed the masking tape off when the paint was dry and would be left with a flakey line.
When I took the masking off, I noticed that the grey Primer had bleed a bit under the tape and you could see it in places (not that I’m blaming my £1 shop tape). I used nail varnish remover pads to gently remove the Primer. This was because I didn’t have any white spirit but it did the trick.
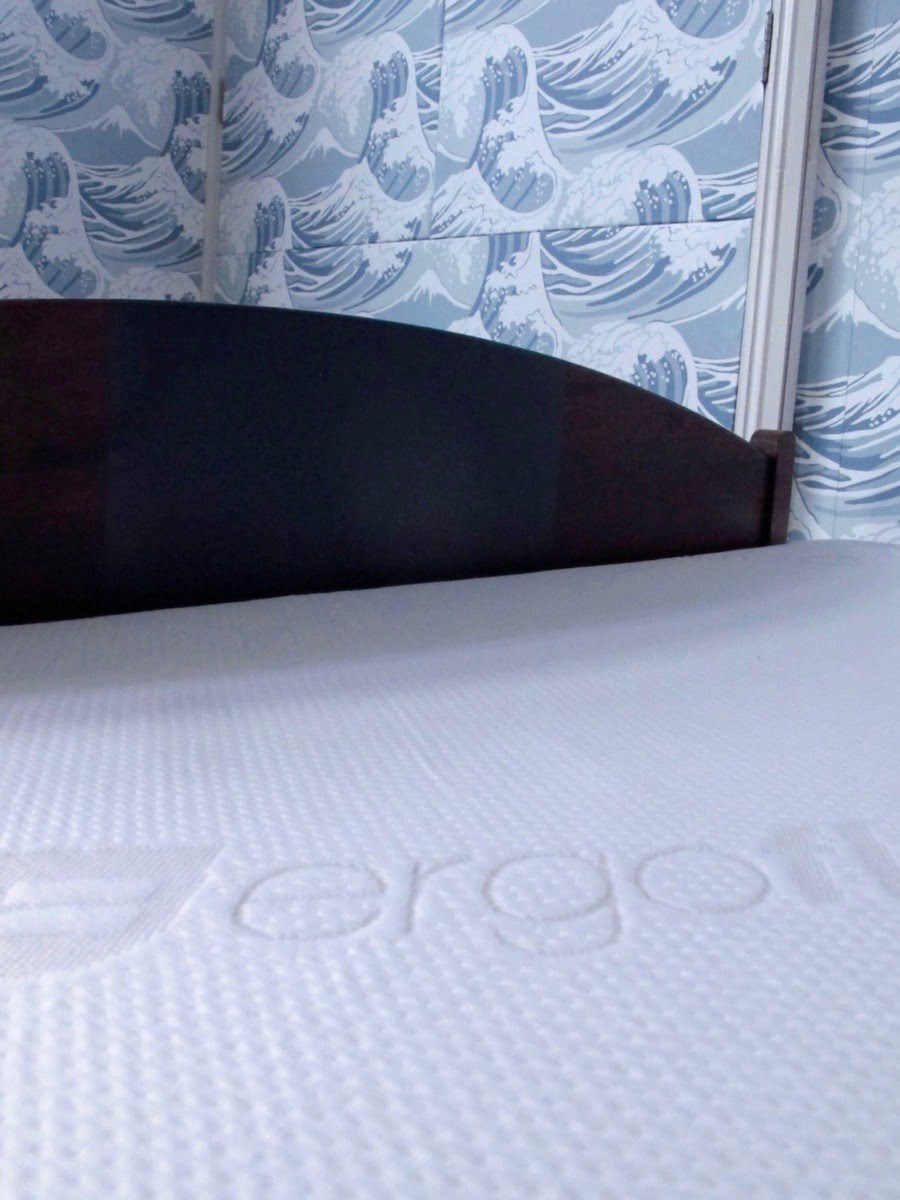
The new look for my bed deserved a new look mattress to finish off my bed. I took off the old mattress off (which came with the bed) for a Ergoflex 5G Memory Foam Mattress. Eventually, I’m going to be renting out this room full-time on Airbnb and I wanted my guests to have the best night sleep. A decent mattress = great reviews. It was a worthy investment to upgrade the mattress. Anyhoo….I’l be writing a post on ‘How To Be The Perfect AirBnB Host’ in the near future.
In the meantime, back to my bed.
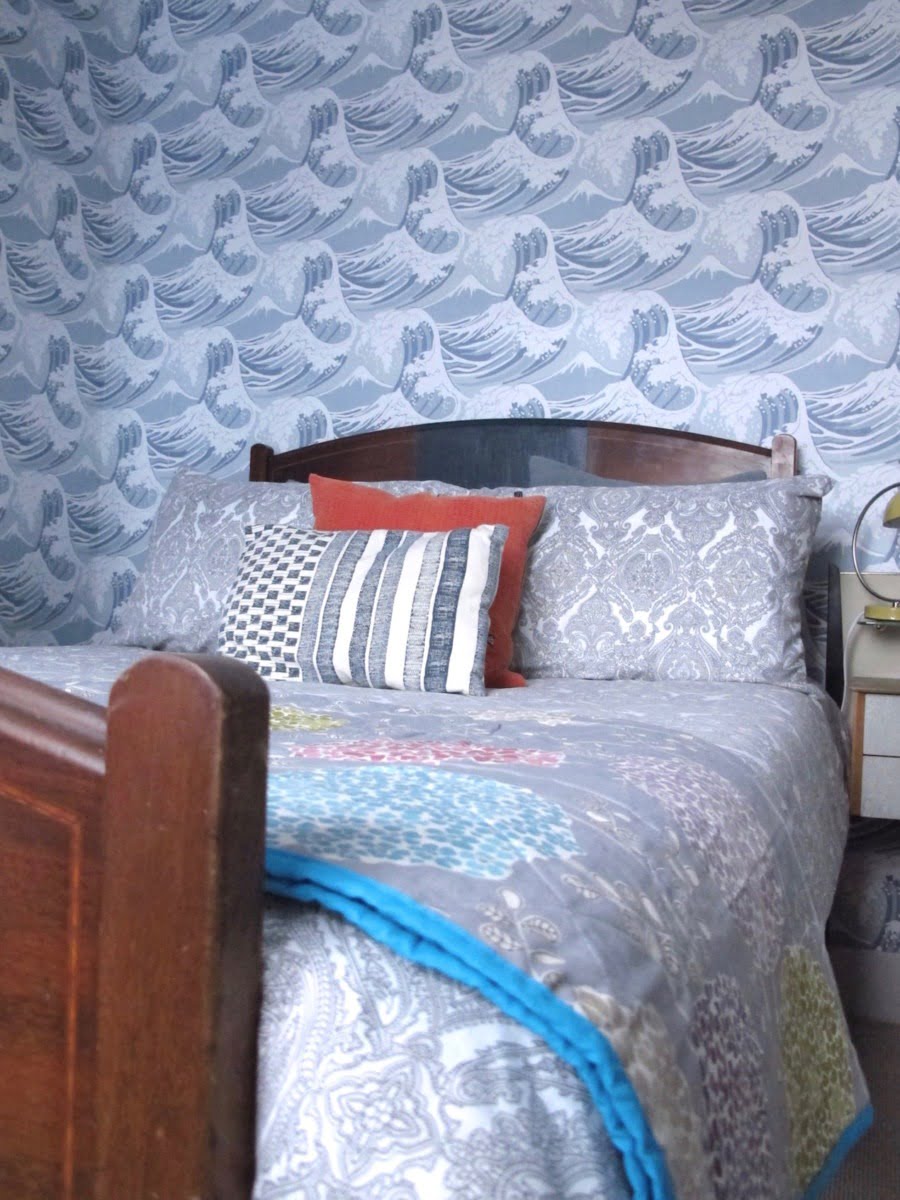
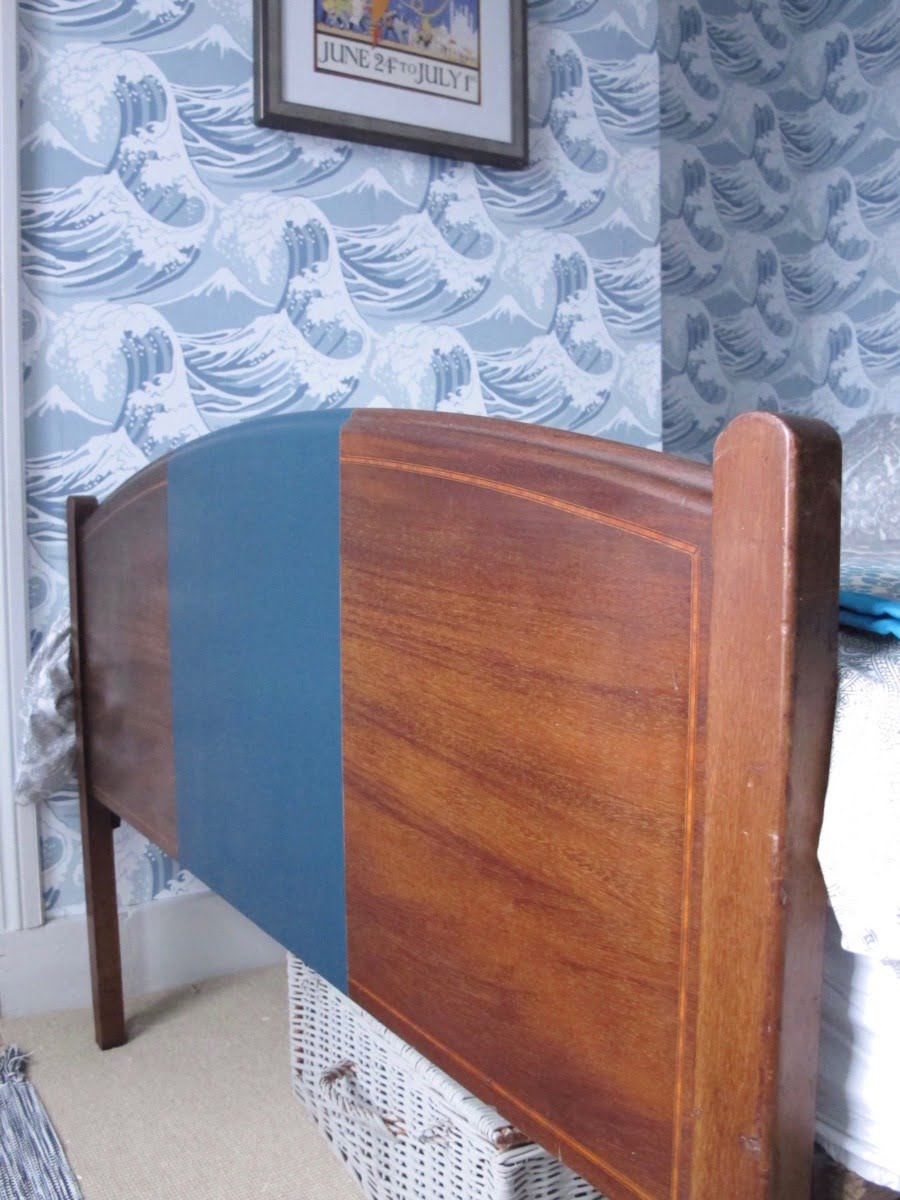
Do I regret painting my vintage bed?
No. It’s totally brought it up to date and it slots in with my crazy new wallpaper bedroom makeover. It’s always good to try out these new ideas and work out how to perfect them. And at least this is a bit different.
After completing the project, there are a few things I would do differently which you need to know:
Firstly, I should have made the blue stripe much wider. You can’t really see it once I have my gazzillion cushions and pillows on the bed. It needs to be about 20cm wider to make more impact.
Okay – I admit the cheap masking tape was a poor investment. Now, I wish I had used Frog tape. It’s pricey but you do get a much neater edge on the paint. Also, I used a brush and I think a small roller instead would have given me a neater/smoother finish. Maybe I should have gone for a brighter blue to make the bed ziiiing a bit more (I was using what I had in the house to save money.)
I’m now shopping for more dark wooden furniture for the room which I’m going to paint with blue stripes so that it matches together. At the moment I have an Annie Sloan painted wardrobe in duck egg but it doesn’t sit with the navy.
Oh and my last two Air bnb guests who stayed in the room loved (and the new mattress) so I must have done something right.
What do you think? Do you think I was crazy to paint my bed? Or are you ready to pick up a paint brush and do the same?
•• Disclaimer, some of the products above were sent to me for review. As always, these are my opinions, my photos and my thoughts.

Oh I always feel guilty for painting vintage/antique items too! I hate the idea of just painting everything for the sake of it… But sometimes old things do just need a little revamp!
The bed looks great! I’m sure your new guests from AirBnB will love it – I know I would! I’m interested to see your post about becoming a host.. We’ve thought about it in the past, but our home renovation is so slow I don’t think it’ll ever happen. Such a great way to make a bit of extra cash on the side if you have a spare bed though! I don’t think anyone would guests would appreciate our current dusty home right now though 😉
Looking forward to seeing the rest of the room 🙂
Kerry X
Hey Kerry
Thanks for your lovely works. I’m hoping a tiny bit of paint will go a long way to revive this bed so I will hang onto it for a bit longer. My first air bnb guest stayed on an airbed in my spare room – and then after his stay I could afford a mattress and a bed. Air bnb has paid for a lot of my renovations – as long as you are nice and clear in your description and you are warm and friendly, then guests will love hte ‘real’ experience no matter how dusty!
The bed look so gorgeous Maxine! I love blue so I also painted my furniture with some blue pattern. Your makeover bed look simple but i love it, maybe simple is the best, right? And I’m looking forward to see your complete wooden furniture collection with blue stripes makeover. By the way, nice wallpaper! I guess it was inspired by Japanese art.
Yes. Well spotted Edward. The wallpaper is called Great Wave and it is by Cole and Son. I need to be a bit bolder with painting more furniture. And yes you are right, simple is the best.
What a cool idea. Love Farrow and Ball paint.