Is 3 is the magic number? Ha, no! Let me tell you, it’s No 8. Especially since I went and upscaled my curb appeal with a fan-dabbie-dosie GIAGANTIC house number sign in powder coat white steel. Boom! My house is making an impression. Be scared neighbours…be very scared.
Why A New House Sign?
You’ve already seen my front door makeover video over here and my before and after sash window makeover here so you know what the front of my house was like before and what I was dealing with.
Unsurprisingly, once I replaced my front door and made over my windows, the rest of my house looked utterly dire in comparison. Time to give my home a face-lift with a coat of Little Greene Paint in Spearment – all of which I will cover in detail in another post very very soon.
In the meantime, let me talk to you about my house number. Isn’t it epic?
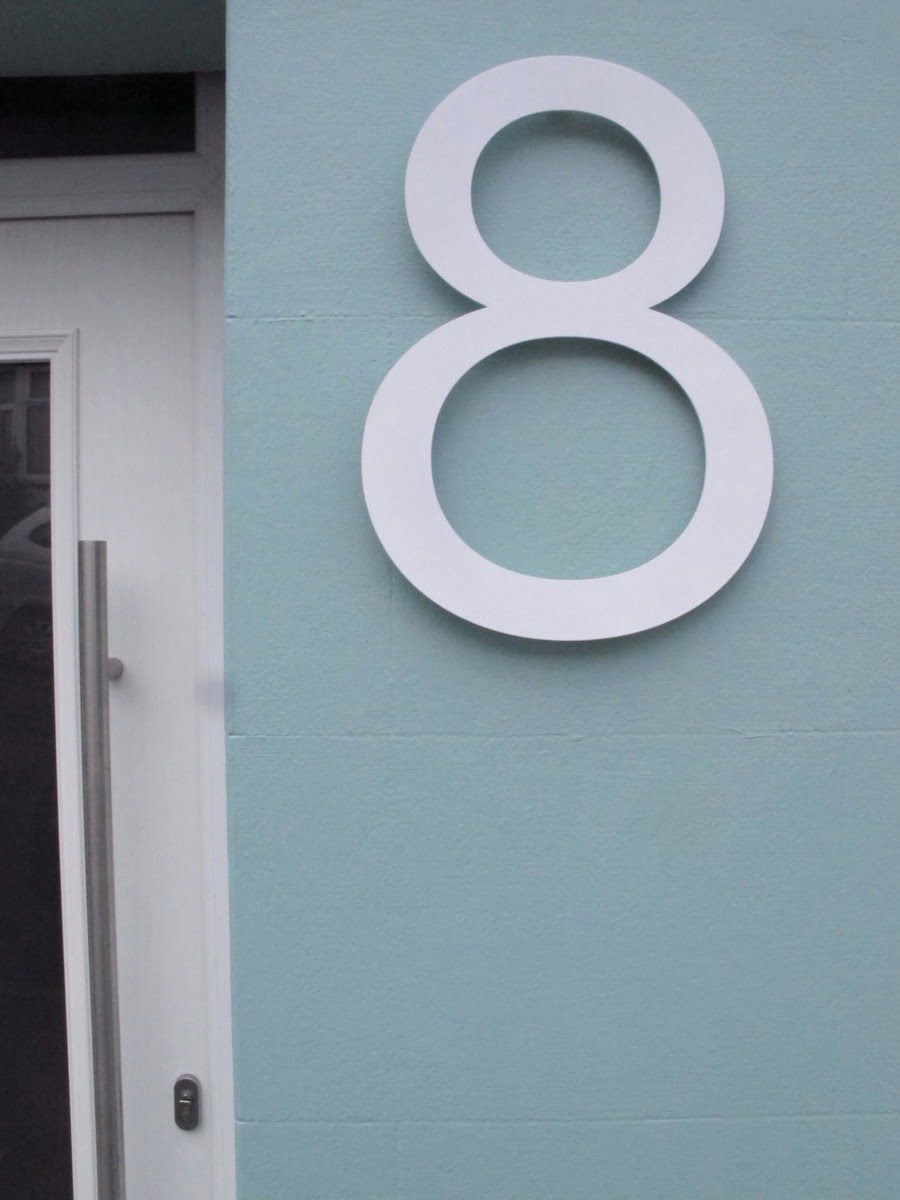
Getting A Bespoke House Sign
After loads of research on pinterest, I knew I wanted a house sign that was going to stop you in your tracks. I couldn’t find anything ready-made so I went hunting around on-line for a company that would make me one to my specs. That is how I found House Numbers.
When I told them the brief, that were a bit shocked at the size. This is apparently the largest number that House Numbers have ever made for anyone (they kept asking me to check my measurements) at 500mm.
Choose The Right Look And Finish
I went for a white powder coated one which they cut out of one sheet of metal. I even got to choose the font I wanted – Neutra – as I loved the curvy bottom it gave my 8 house number. {Apparently, it’s a very famous designer font by an American designer called Richard Neutra.} The sign took two weeks to be made and delivered to my door (then it sat in my cupboard for two months as I ran out of money to pay anyone to put it up).
The white powder coated finish is an ideal for a house like mine which is pretty close to the sea and sea air. The cost was £128 plus VAT. It’s not cheap but it is bespoke and unique to my home. It’s smooth around the edges and I love the shape. It’s classic but very modern. Matches my door style exactly too.
DIY: Putting Up The House Sign In 4 Easy Steps
WARNING! This post contains me in my pjs! Doing DIY and man-handling a drill. Yes. I took matters into my own hands and started putting up things in my home – using a drill!!! I feel hench just writing that. Obvs with a bit of help from my dad. If I can do this, so can you. Let me show you how: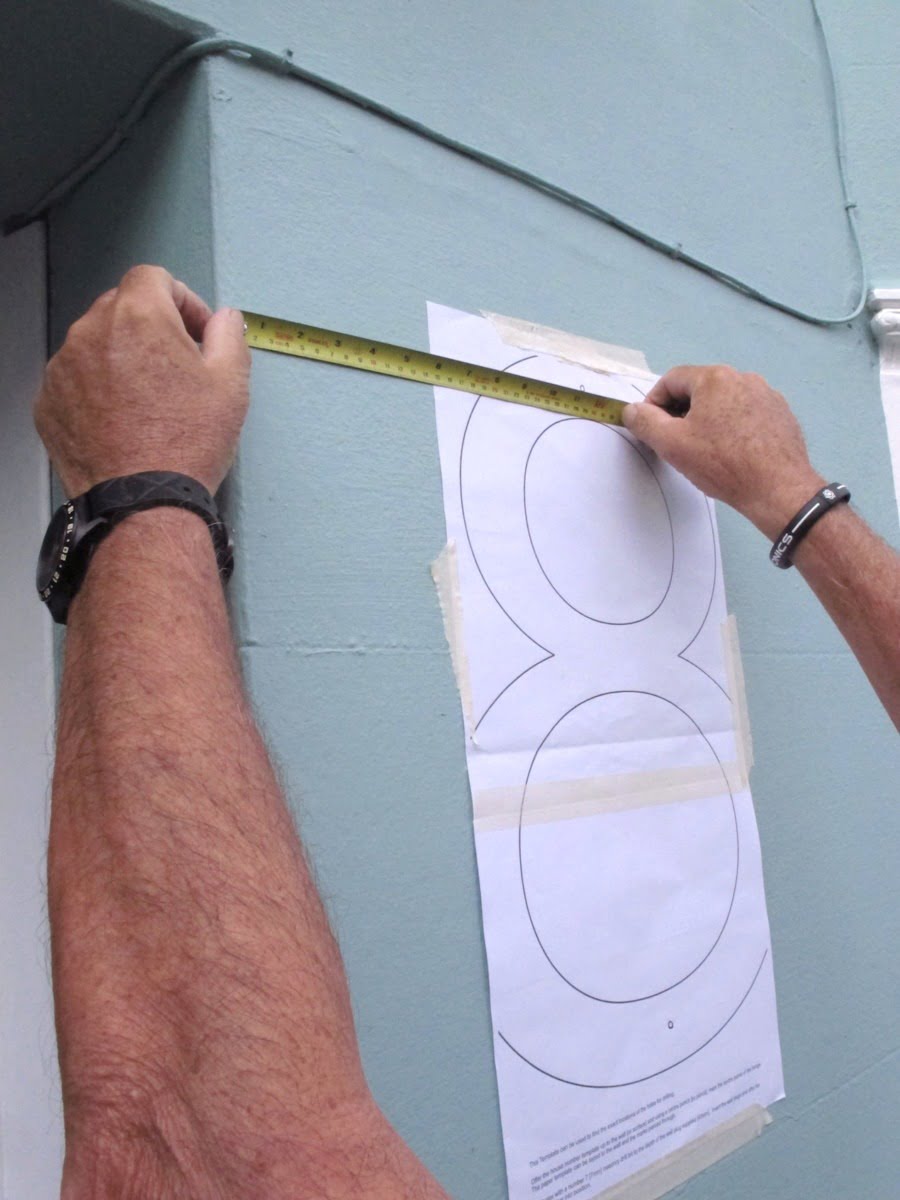
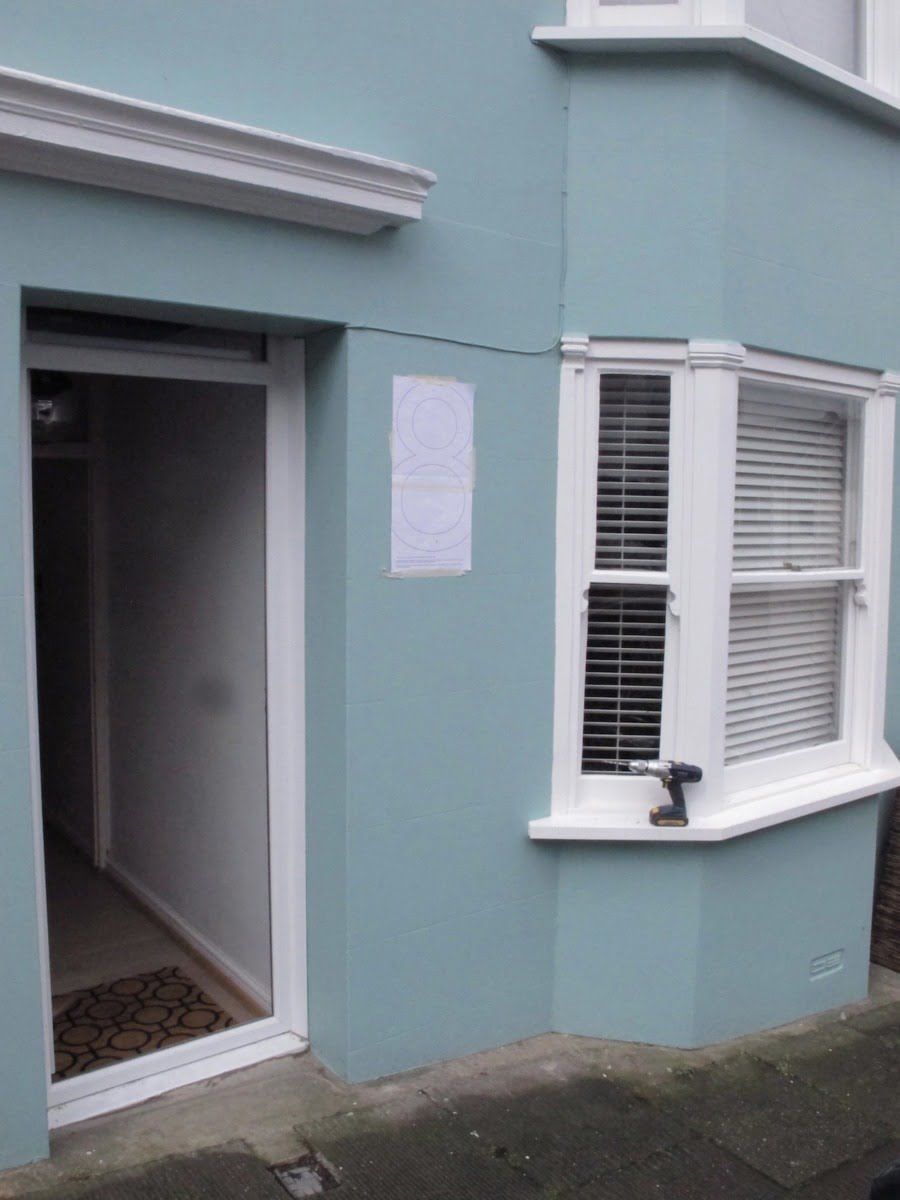
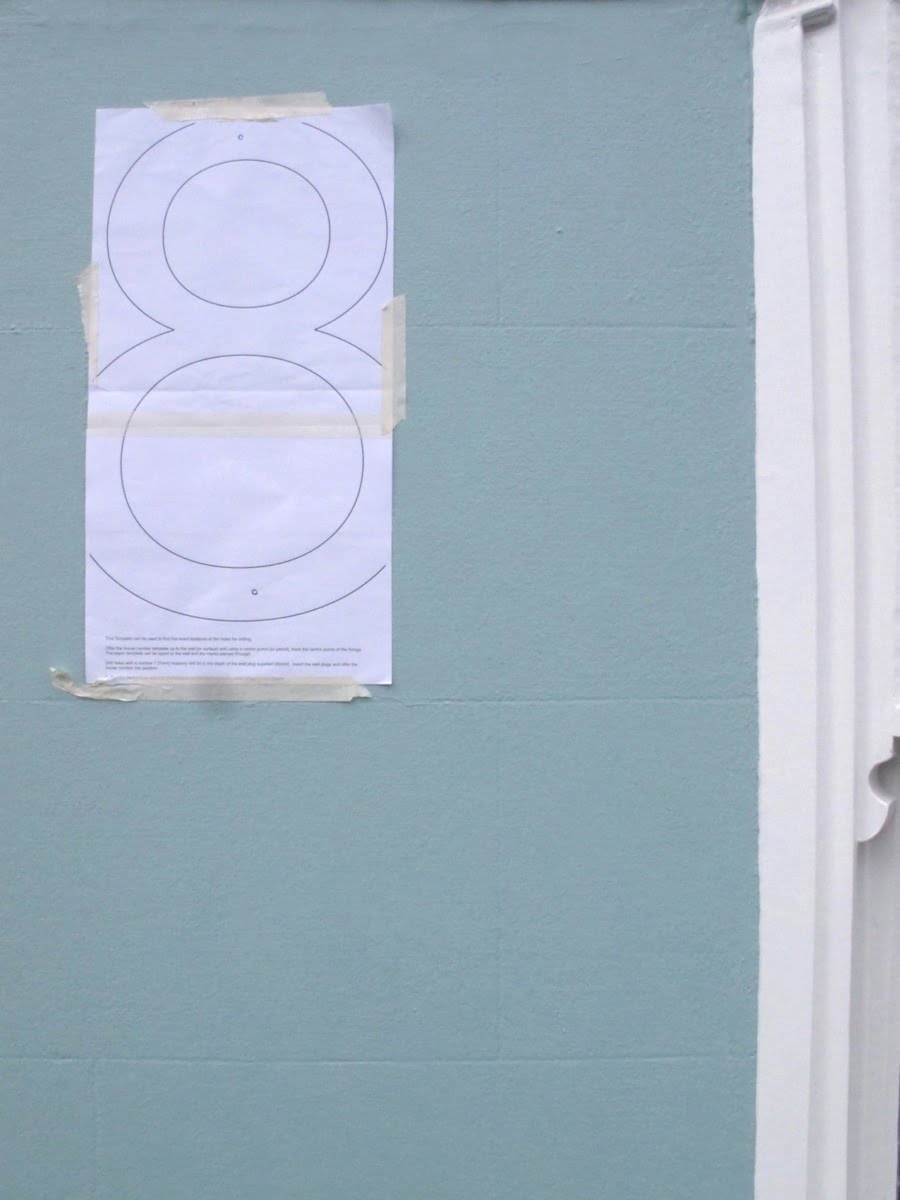
1 Putting up the sign was so easy. It comes with a paper template that you stick to your wall. That is my Dad’s hairy hands measuring to make sure it was up straight. I used my eye to work out where to place it – I picked above head height so you can see if from the road.
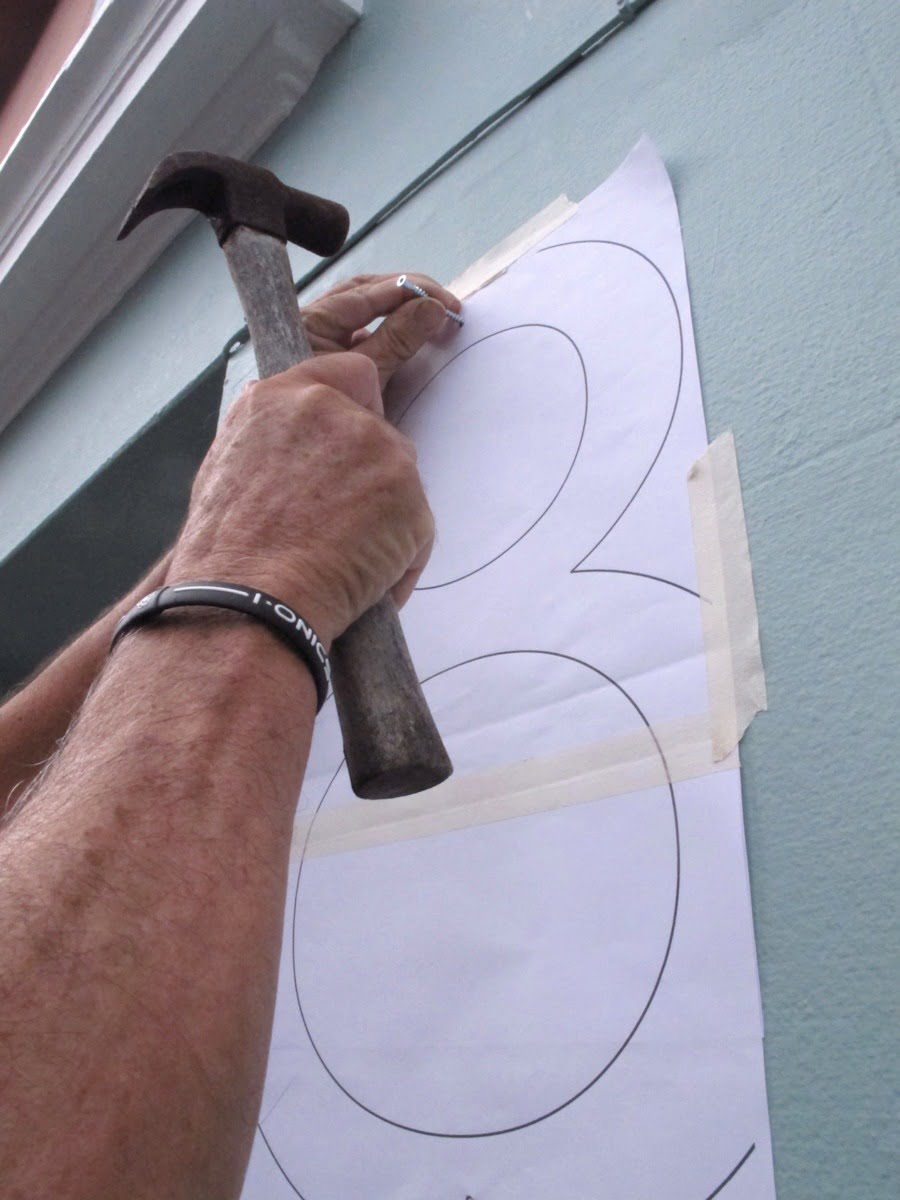
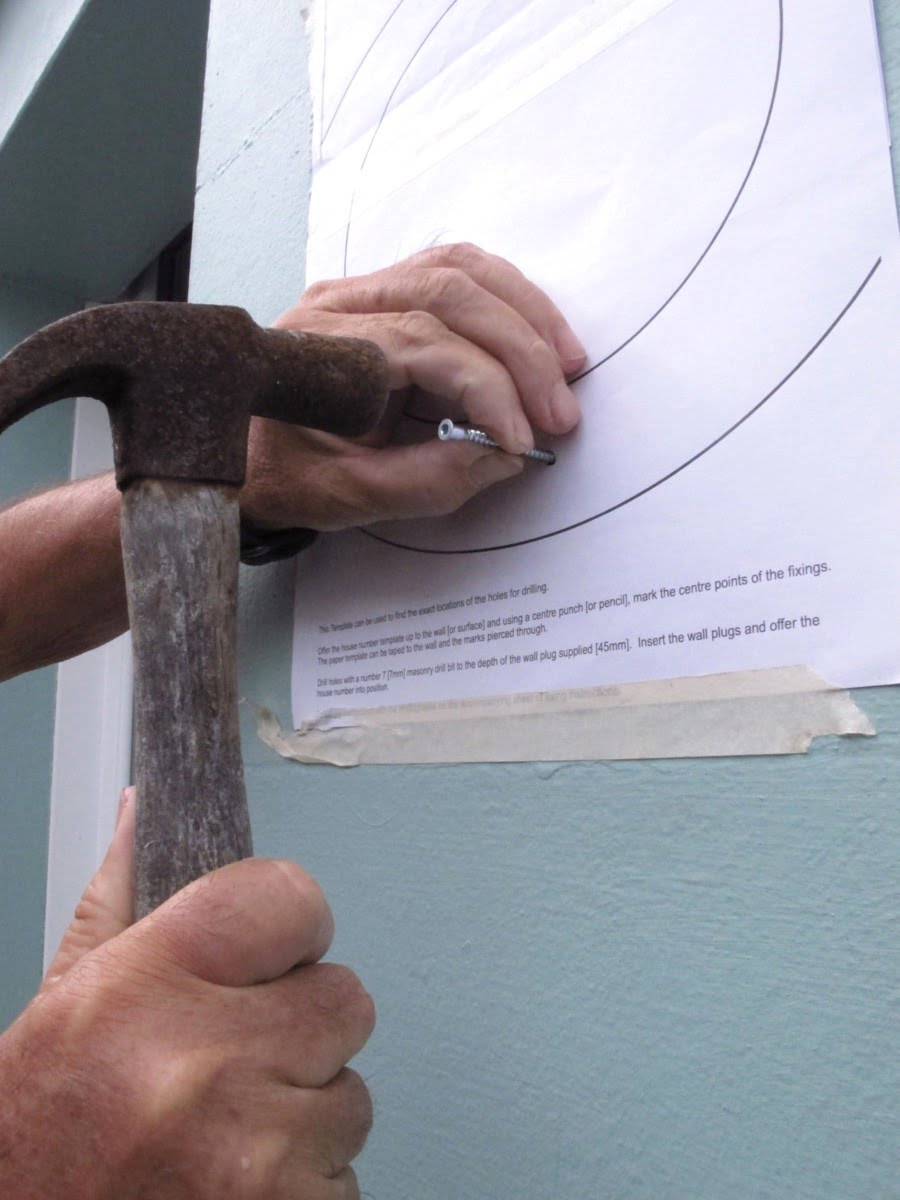
2 Next you hammer in a nail in the points marked out at the top and bottom to make a small dent.
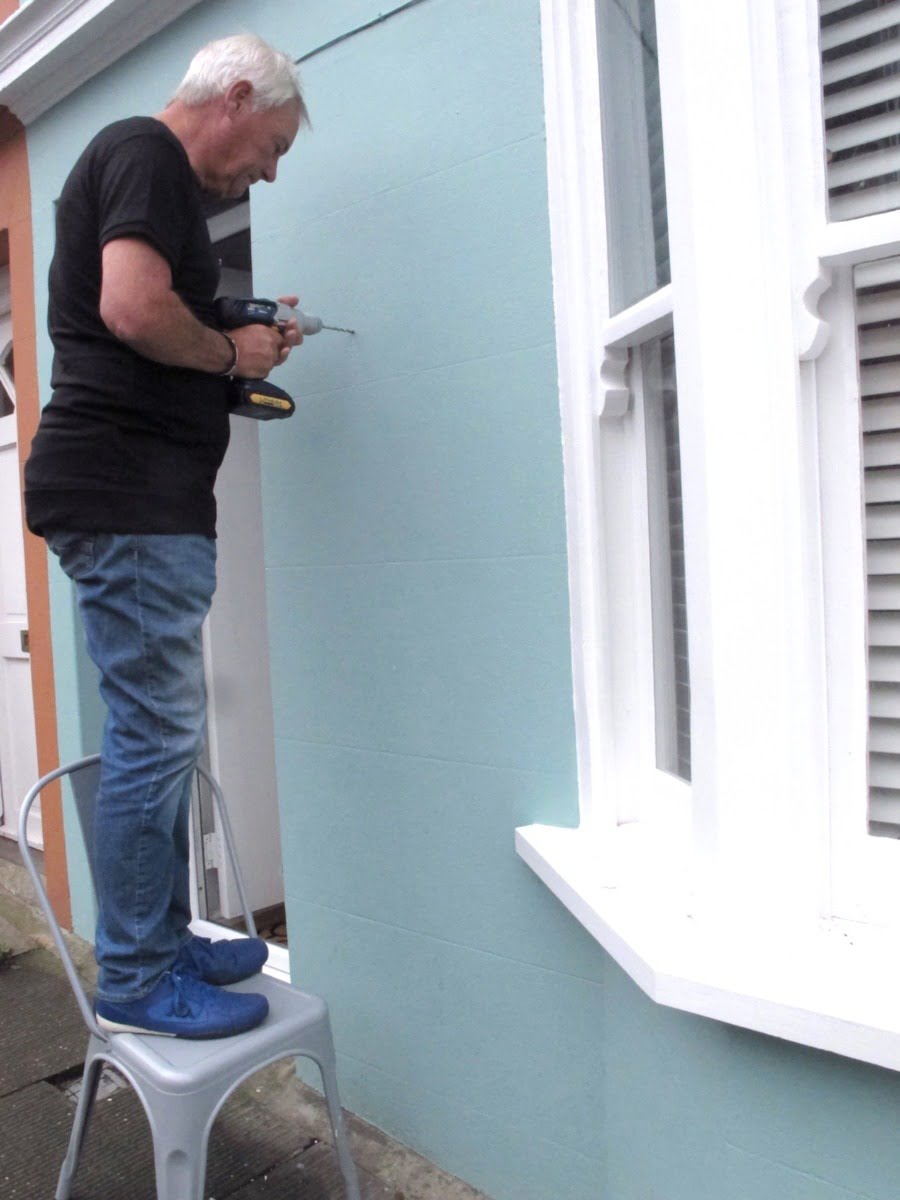
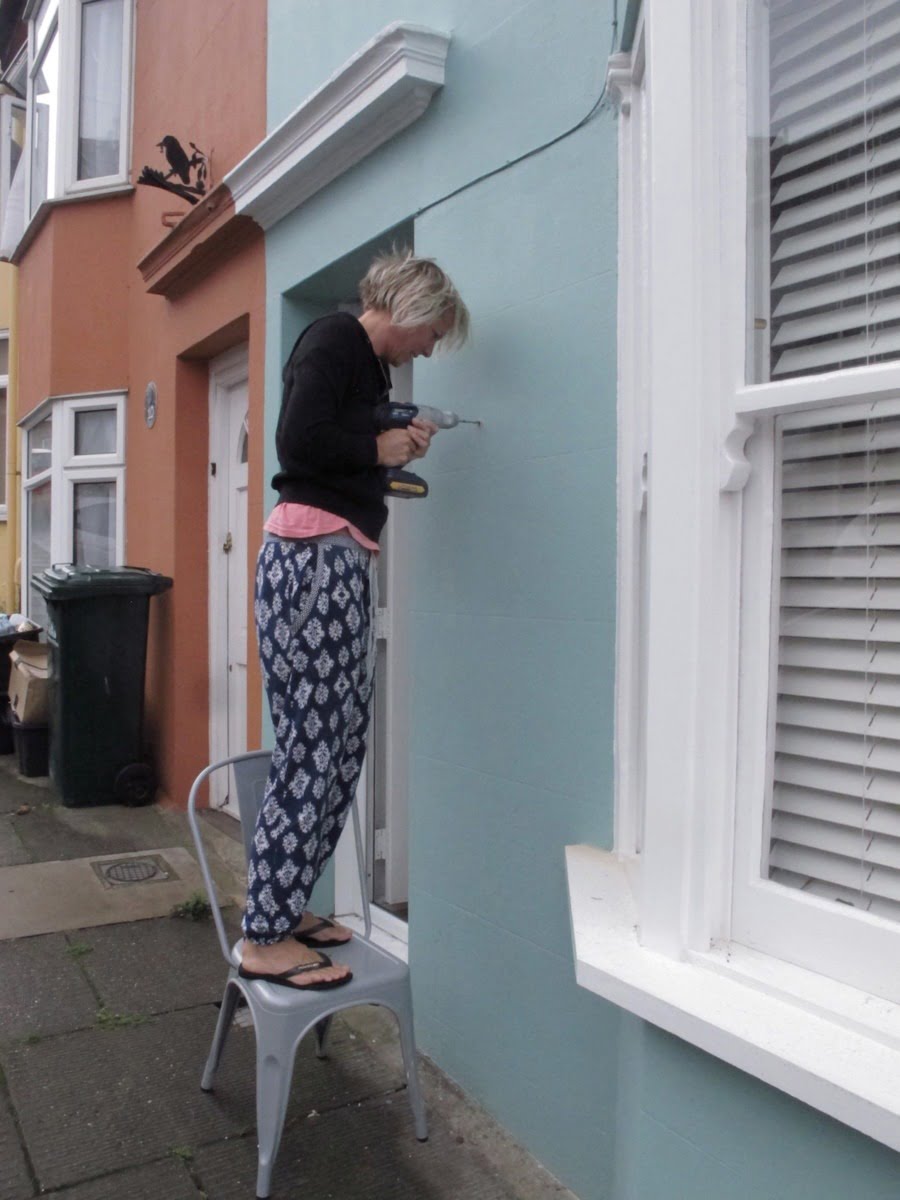
3 Take the template off and start drilling. My dad explained that you need to use a masonary ‘bit’ as we were drilling into solid brickwork. The ‘bit’ had to be a bit bigger in size that the diameter of the plastic raw plug ( the plastic thing that you shove into the wall which the screw then screws into). Then we adjusted the drill to the ‘hammer’ setting so it would pound away to make a hole at the dots we had marked out. We measured how deep we wanted the holes to be by measuring the length of the screws that came with my sign. I’m making it all sound way more complicated then it was.

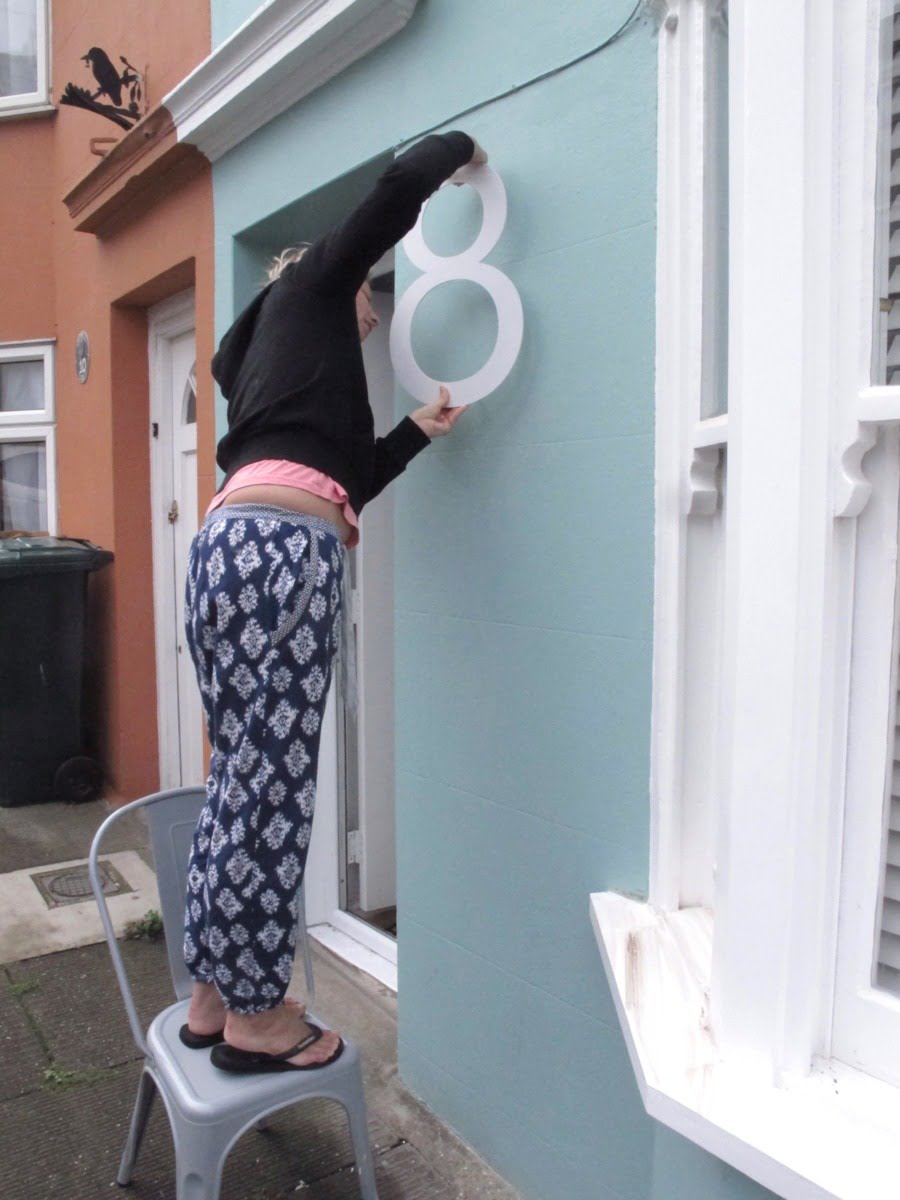
Health and Safety as ever with my PJs, flip flops and balancing on a metal chair. Don’t copy me there. I had to put a lot of force behind the drill as I’m a weakling (my dad’s words) but I still managed to do it.
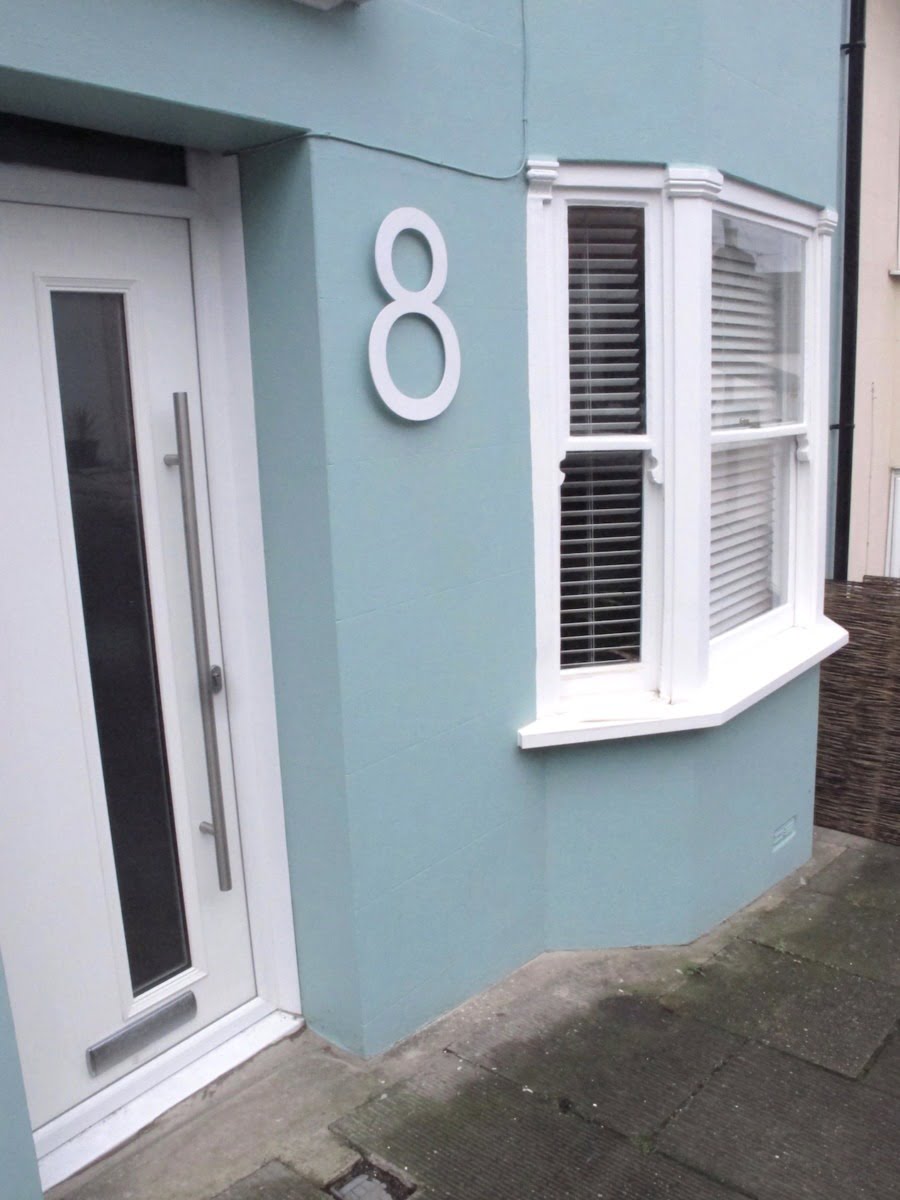

4. Then I slotted the No. 8 into place, secured with a bit of glue. And that was it.
It made my postman stop in his tracks when he saw it – it is that big. You can tell that my home’s new looks has arrived on my street.
That’s how you pick the perfect house sign (and put it up). To re-capp: Do your research on-line first to find a design you like; GO BIG; find company that will make it for you; pick the perfect finish; then put it up. Easy!
Now I’ve got drilling skills there is no stopping me – I’ve borrowed my dad’s drill and started putting up shelves, hooks, wall lights…..the list goes on. I’ll share more of that on my facebook page over here. It really wasn’t that hard to do which makes me feel silly for not learning how to do it earlier! Next is blinds in my spare bedroom.
I’ll be posting a final finished makeover soon so you can see what curb appeal my home now has with lots of lovely before + after shots.
Until then, get drilling!
The lovely shot of me (well I think it is lovely) was taken by my talented photogrpaher friend Fanny Beckman, you can see more her work over here > www.fannybeckman.com,
•• Disclaimer, some of the products above were sent to me for review. As always, these are my opinions, my photos and my thoughts.
